View Coloured Pyro with Houdini & Redshift
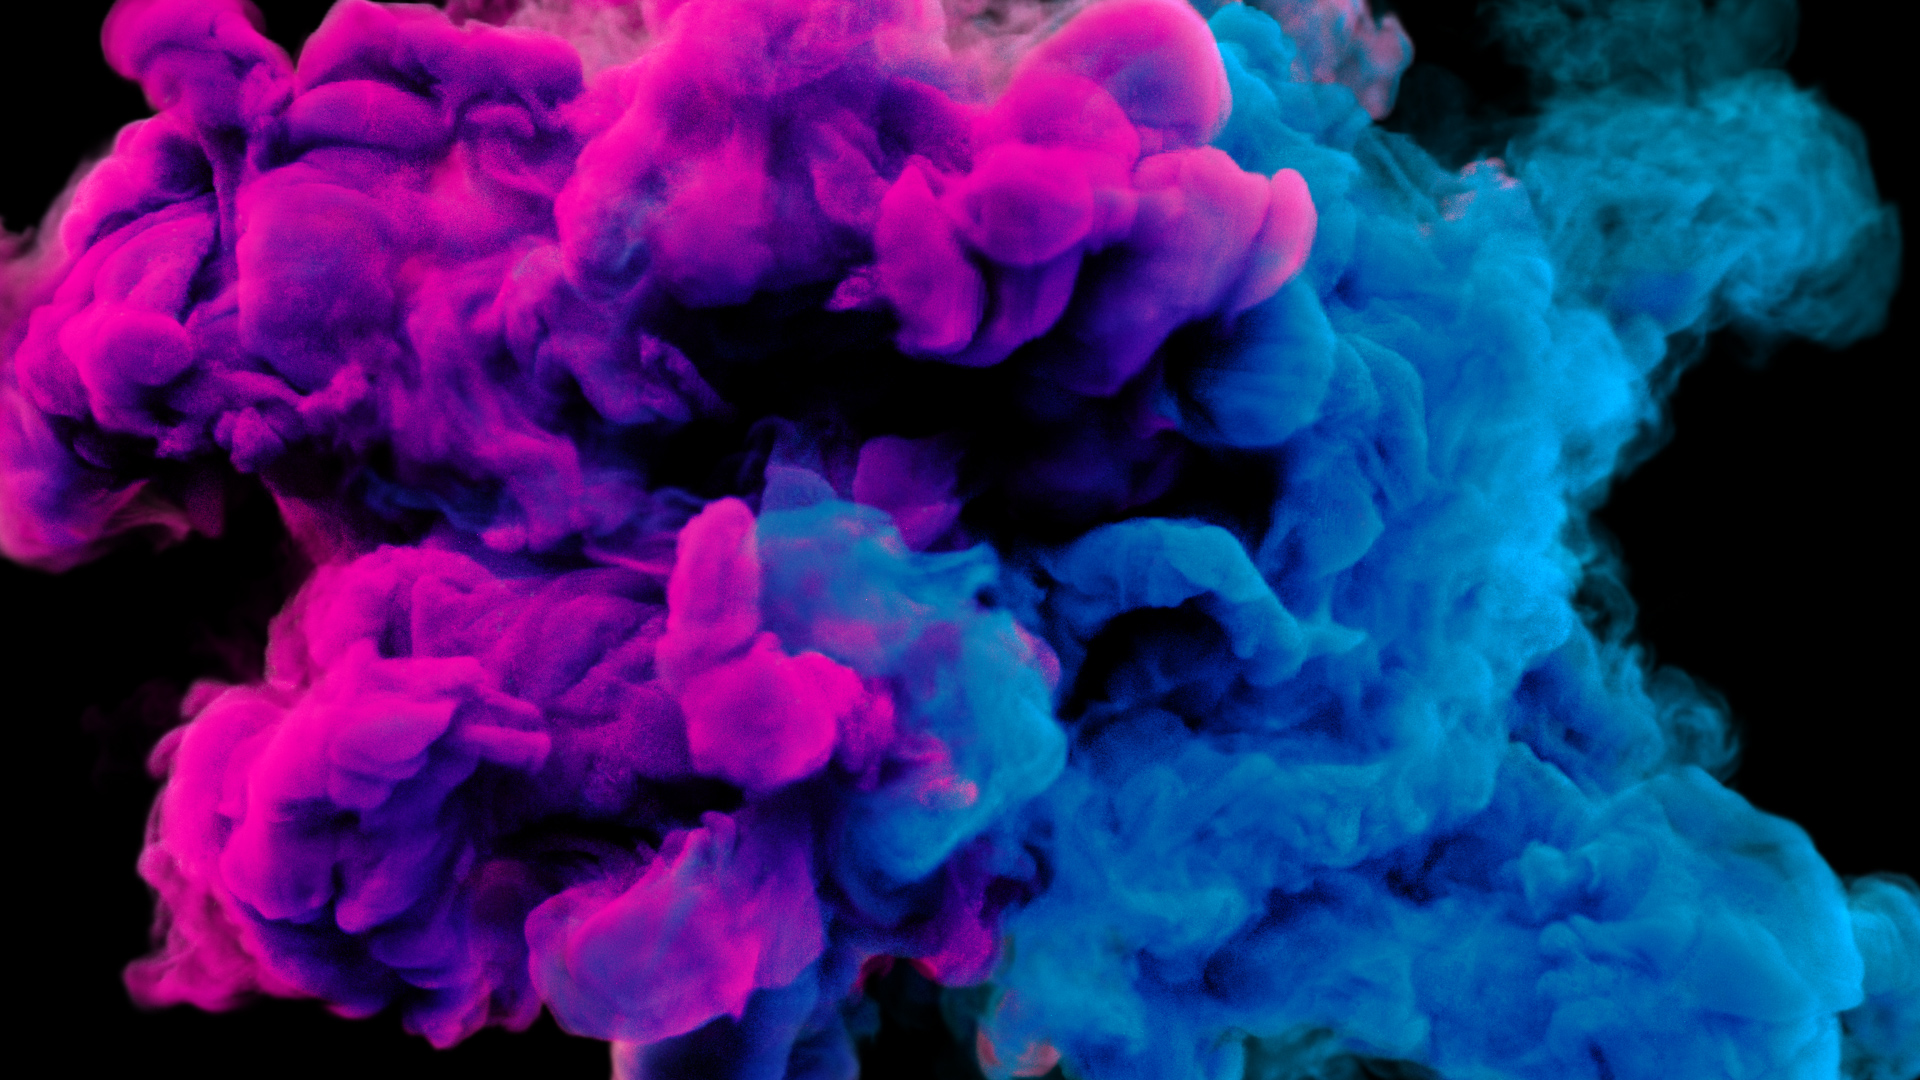
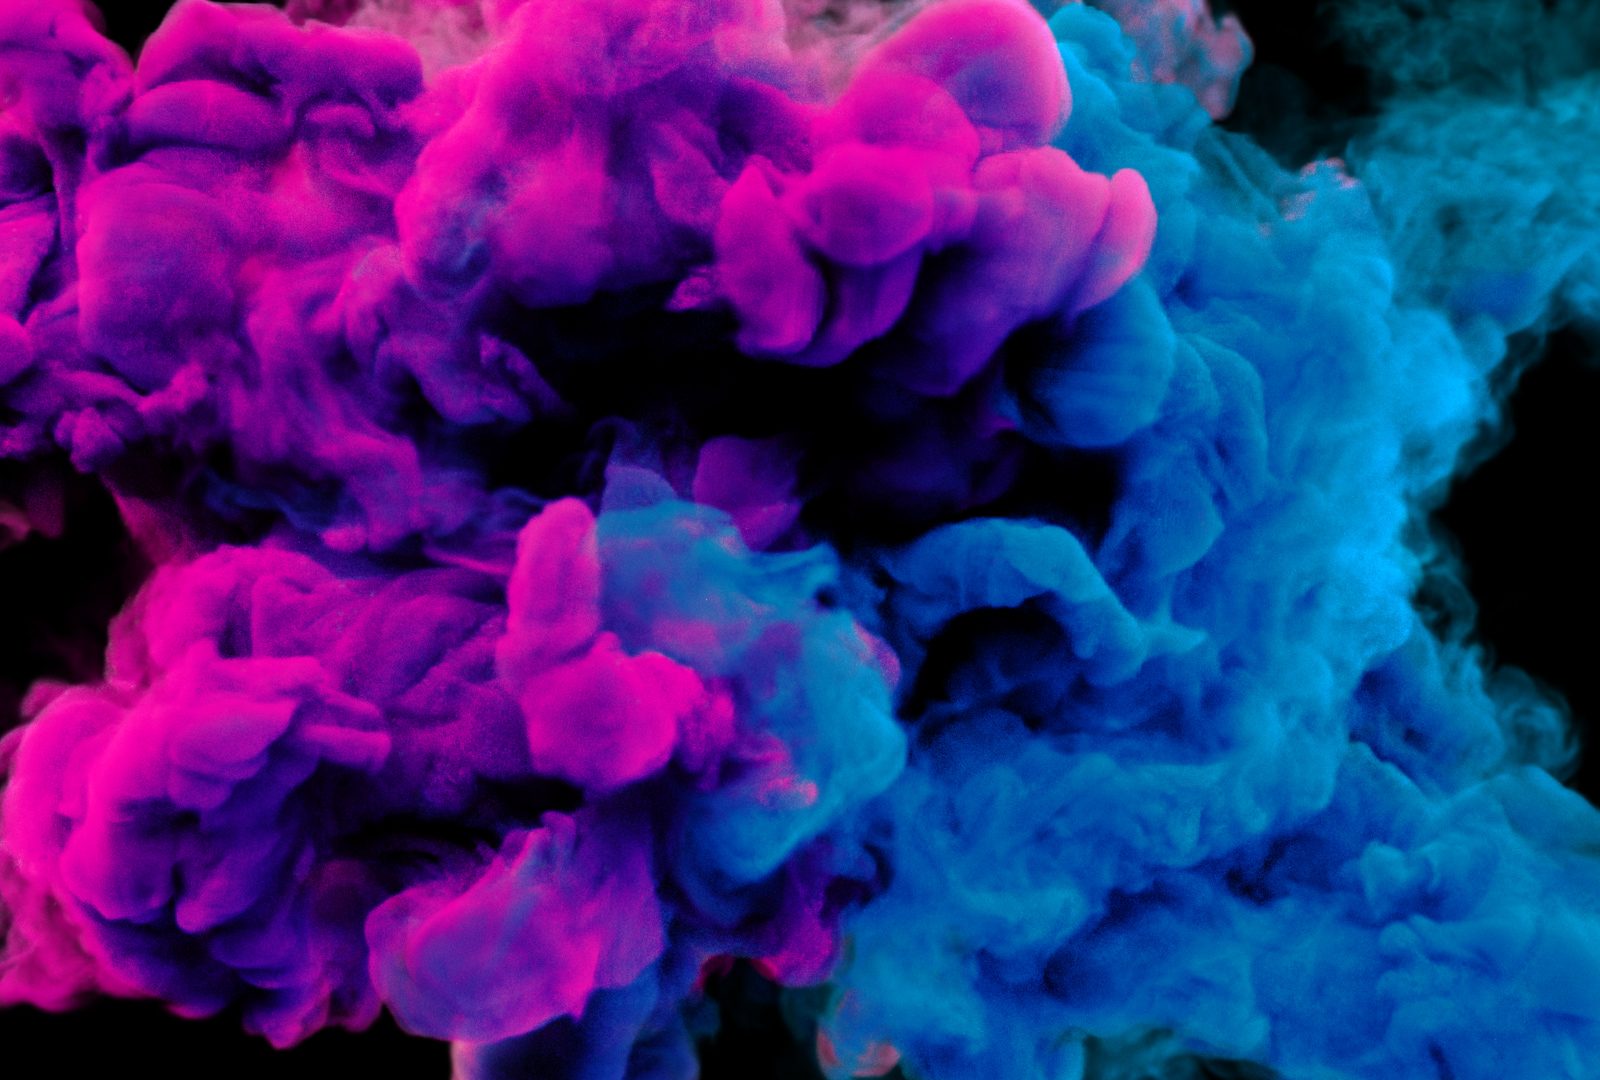
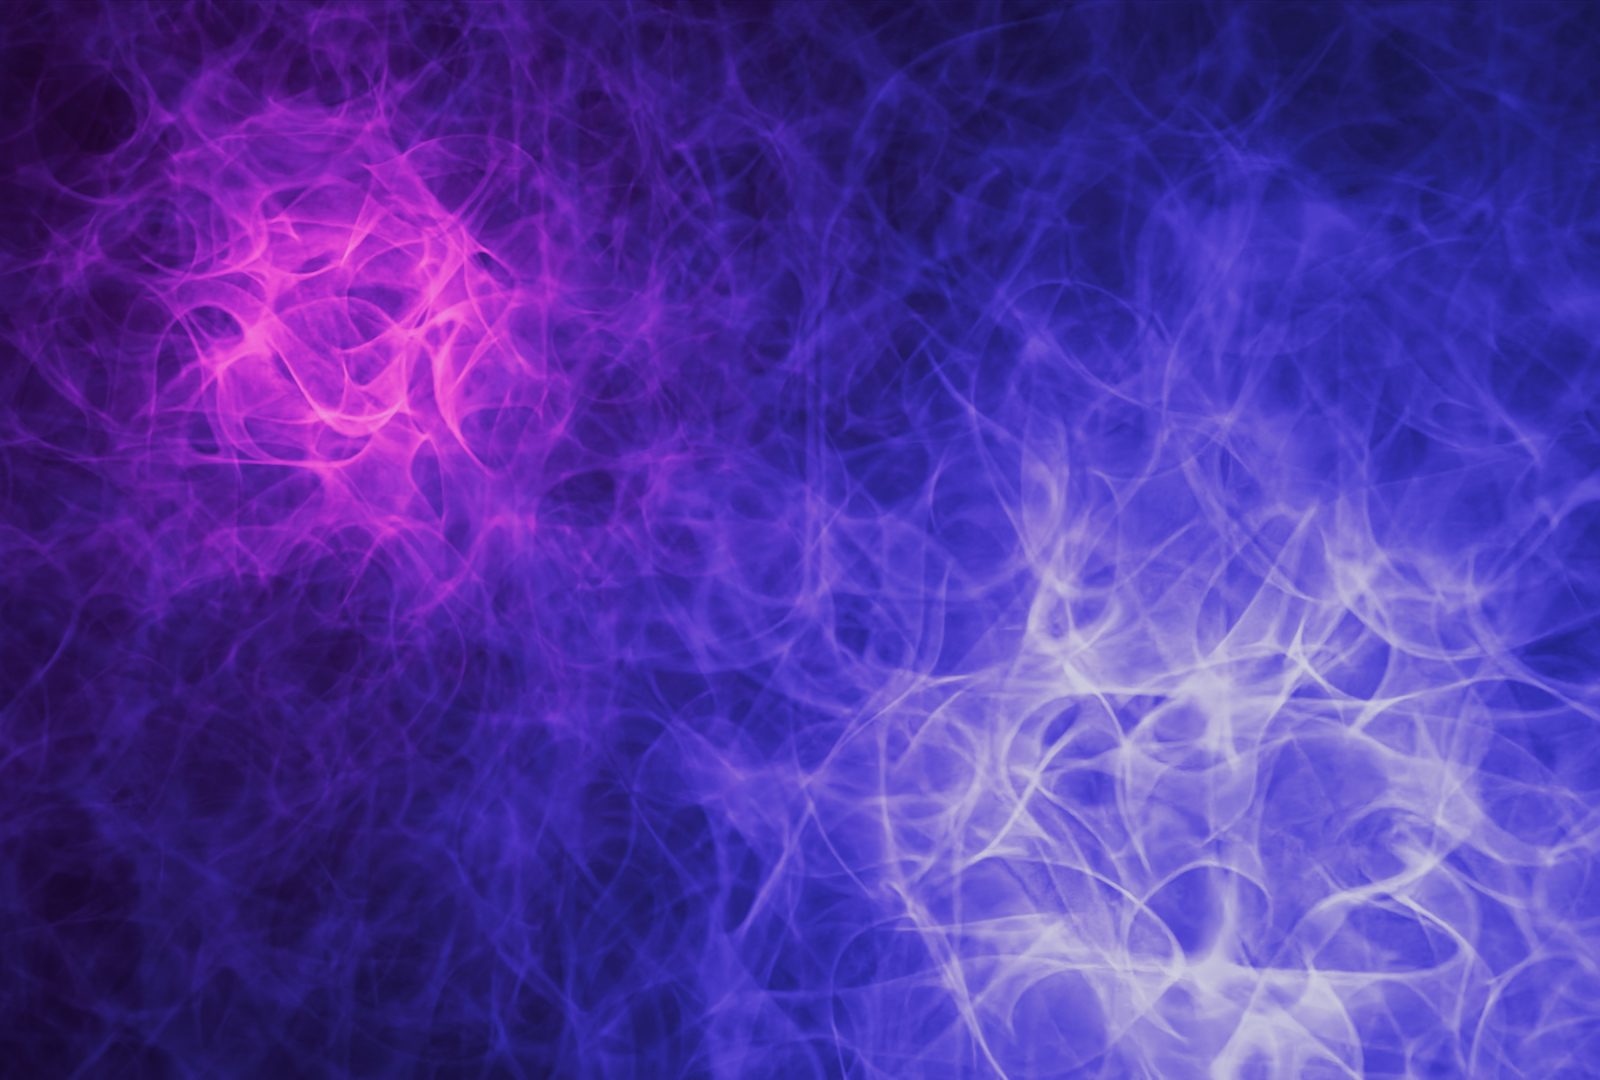
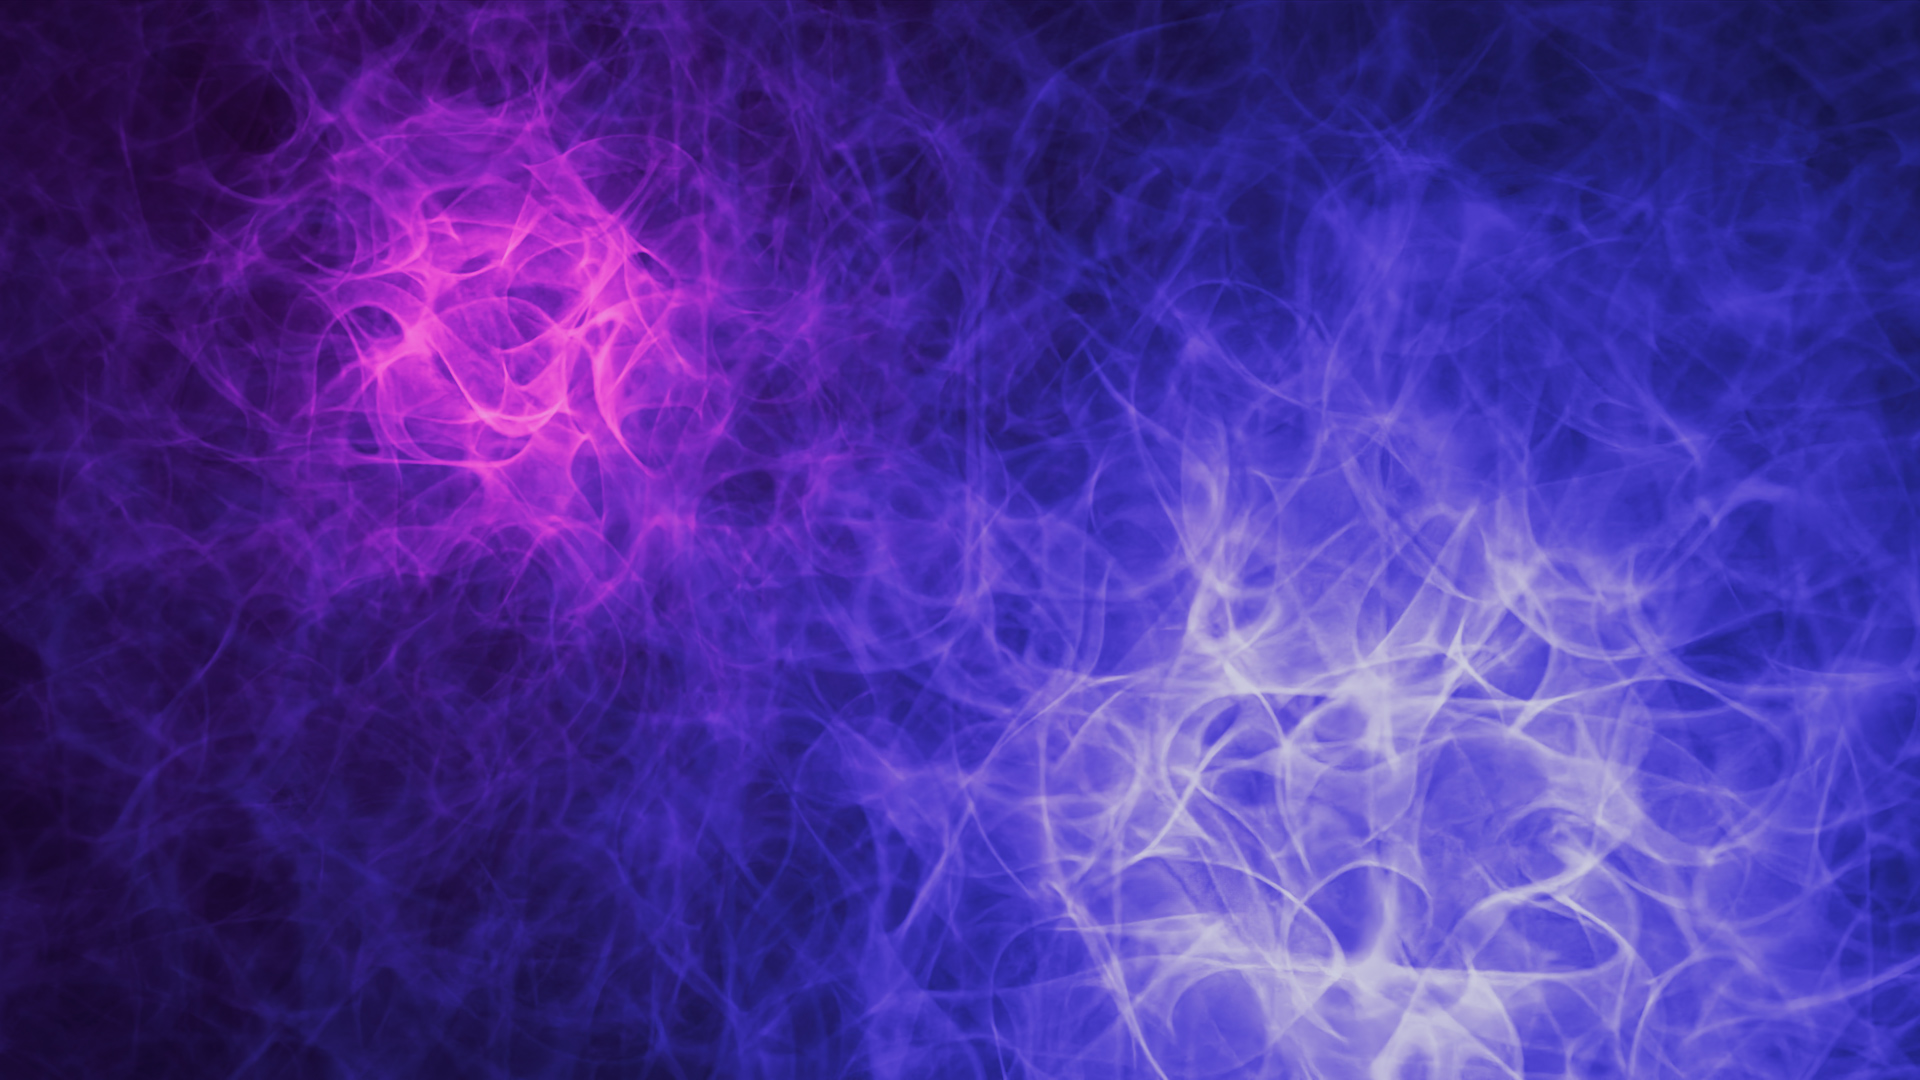
Coloured Pyro with Houdini & Redshift
Multi-coloured smoke using Houdini and Redshift. This tutorial we will take you through the process of creating coloured pyro using Houdini & Redshift.
View→
View Capsules, Nodes & Asset Creation in Cinema 4D
Capsules, Nodes & Asset Creation in Cinema 4D
View→Tutorials
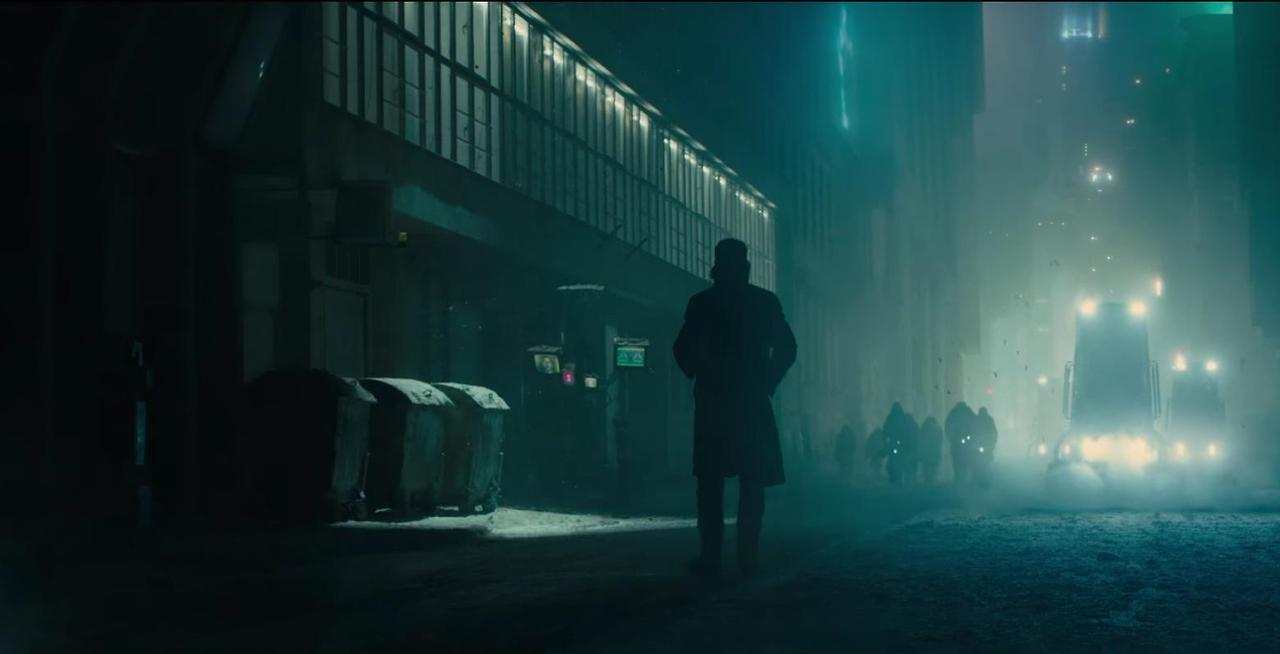
View Noise and Volumetric Lights with Redshift
Noise and Volumetric Lights with Redshift
Free Tutorials