News
28 March 2024
Camp Mograph Australia!
We’re sponsoring Camp Mograph Australia How Good!
We’re sponsoring Camp Mograph Australia How Good!
We are very excited to announce that Rocket Lasso plugins for Cinema4D are now available in the helloluxx store!
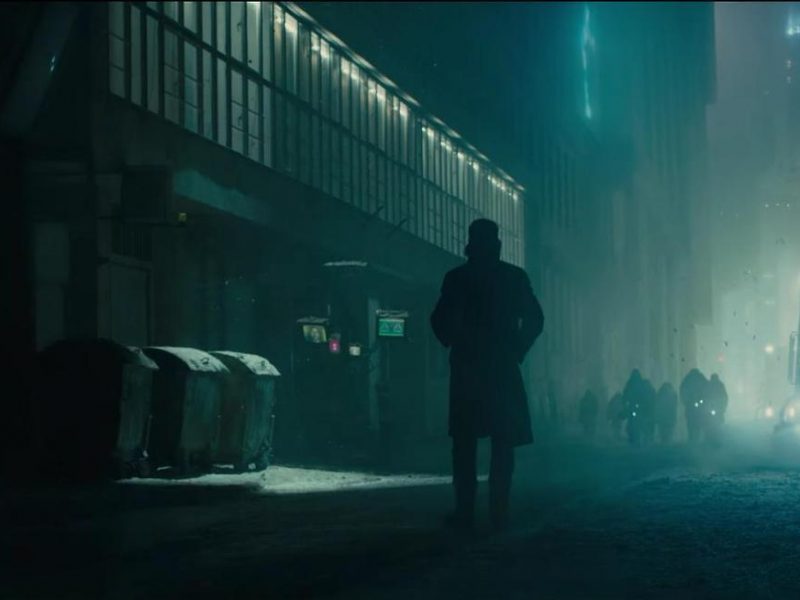
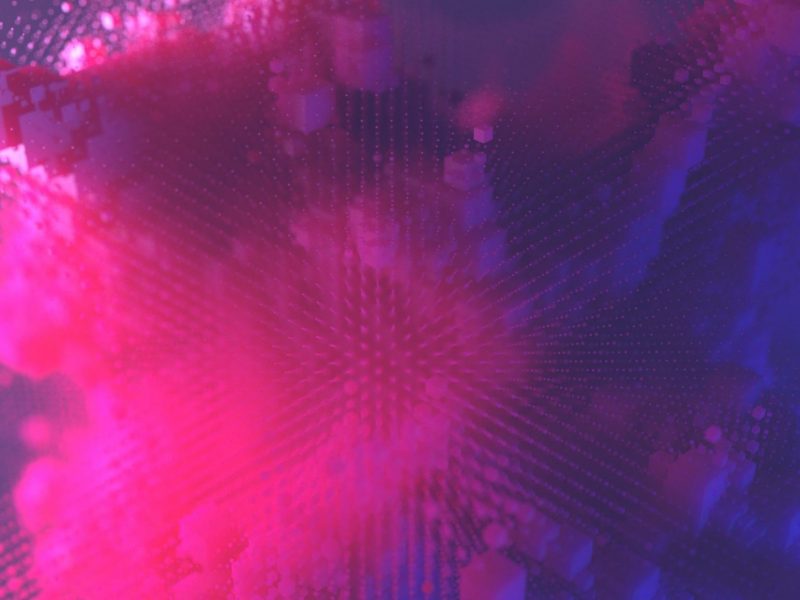
Lighting a scene is a key component of story-telling, if you are new to 3D then these tips will teach you some core lighting concepts and techniques to improve your renders.
New material packs for both Octane and Redshift have landed on the site recently, definitely worth a look if you need top quality shaders for your projects.
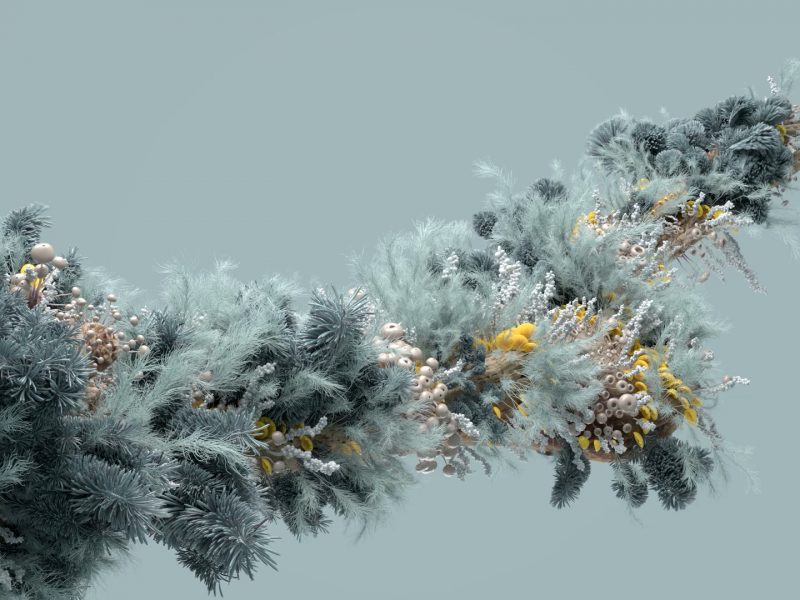
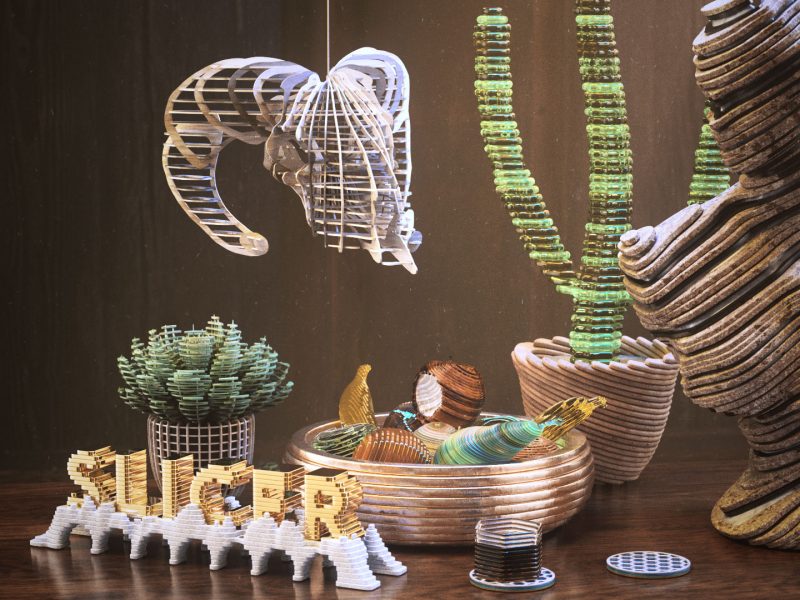
Learn from master craftsman Rich Nosworthy and take your Houdini skills to the next level. In this much anticipated course, you will create an intricate and detailed flowering setup using Houdini and rendering with Redshift. This new training is available now!

Learn 3D illustration with Cinema 4D in this introductory course from Matt Lloyd. Get started with modelling, textures and lighting in this great new course.
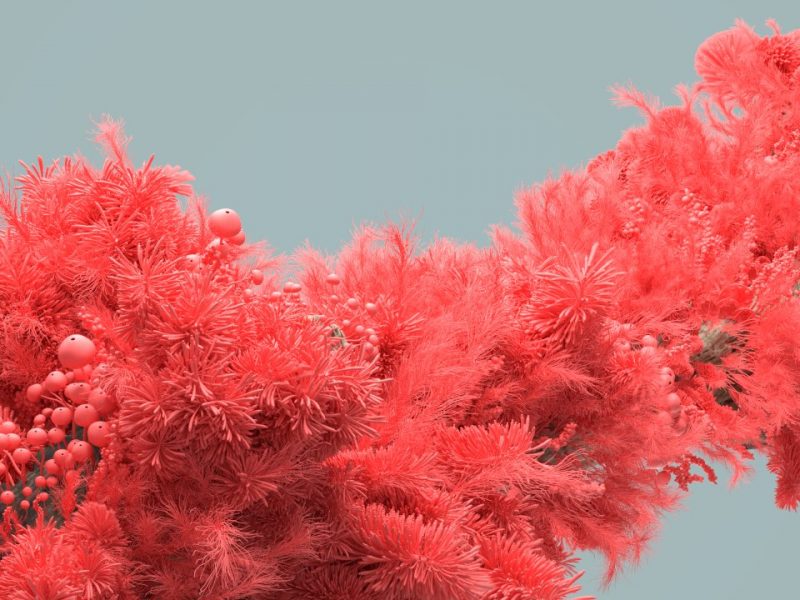
Rich Nosworthy, one of the greatest digital artists of our time, is back with an absolutely amazing new Houdini course … get ready to be blown away!
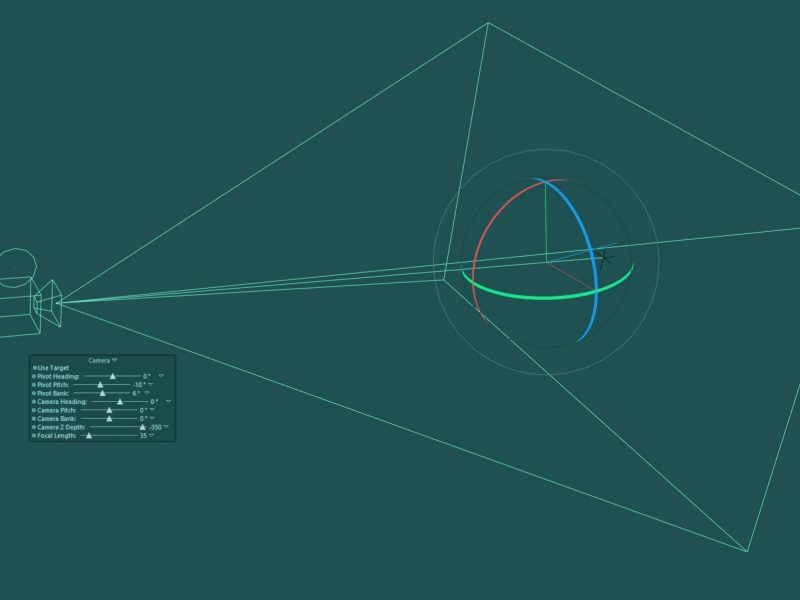
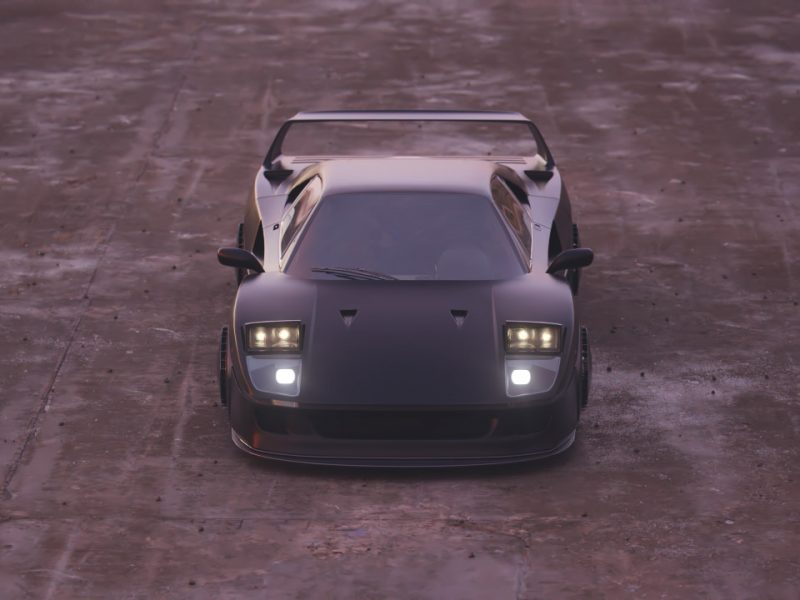
In this free tutorial you can follow along with Tim Clapham and build this flexible C4D camera rig, then explore four types of shot and how to tackle them. We also included the rig as a free download.
We’ve got a new site and we are EXCITED!
omg! OMG! O M G !
Yaaaaaaaaaasss!!
gimme gimme GIMME … OMG!