News
28 March 2024

Redshift Essential Materials & Toon Materials for C4D and Houdini.

Continue your Houdini learning with this second volume of tutorials by Adam Swaab.
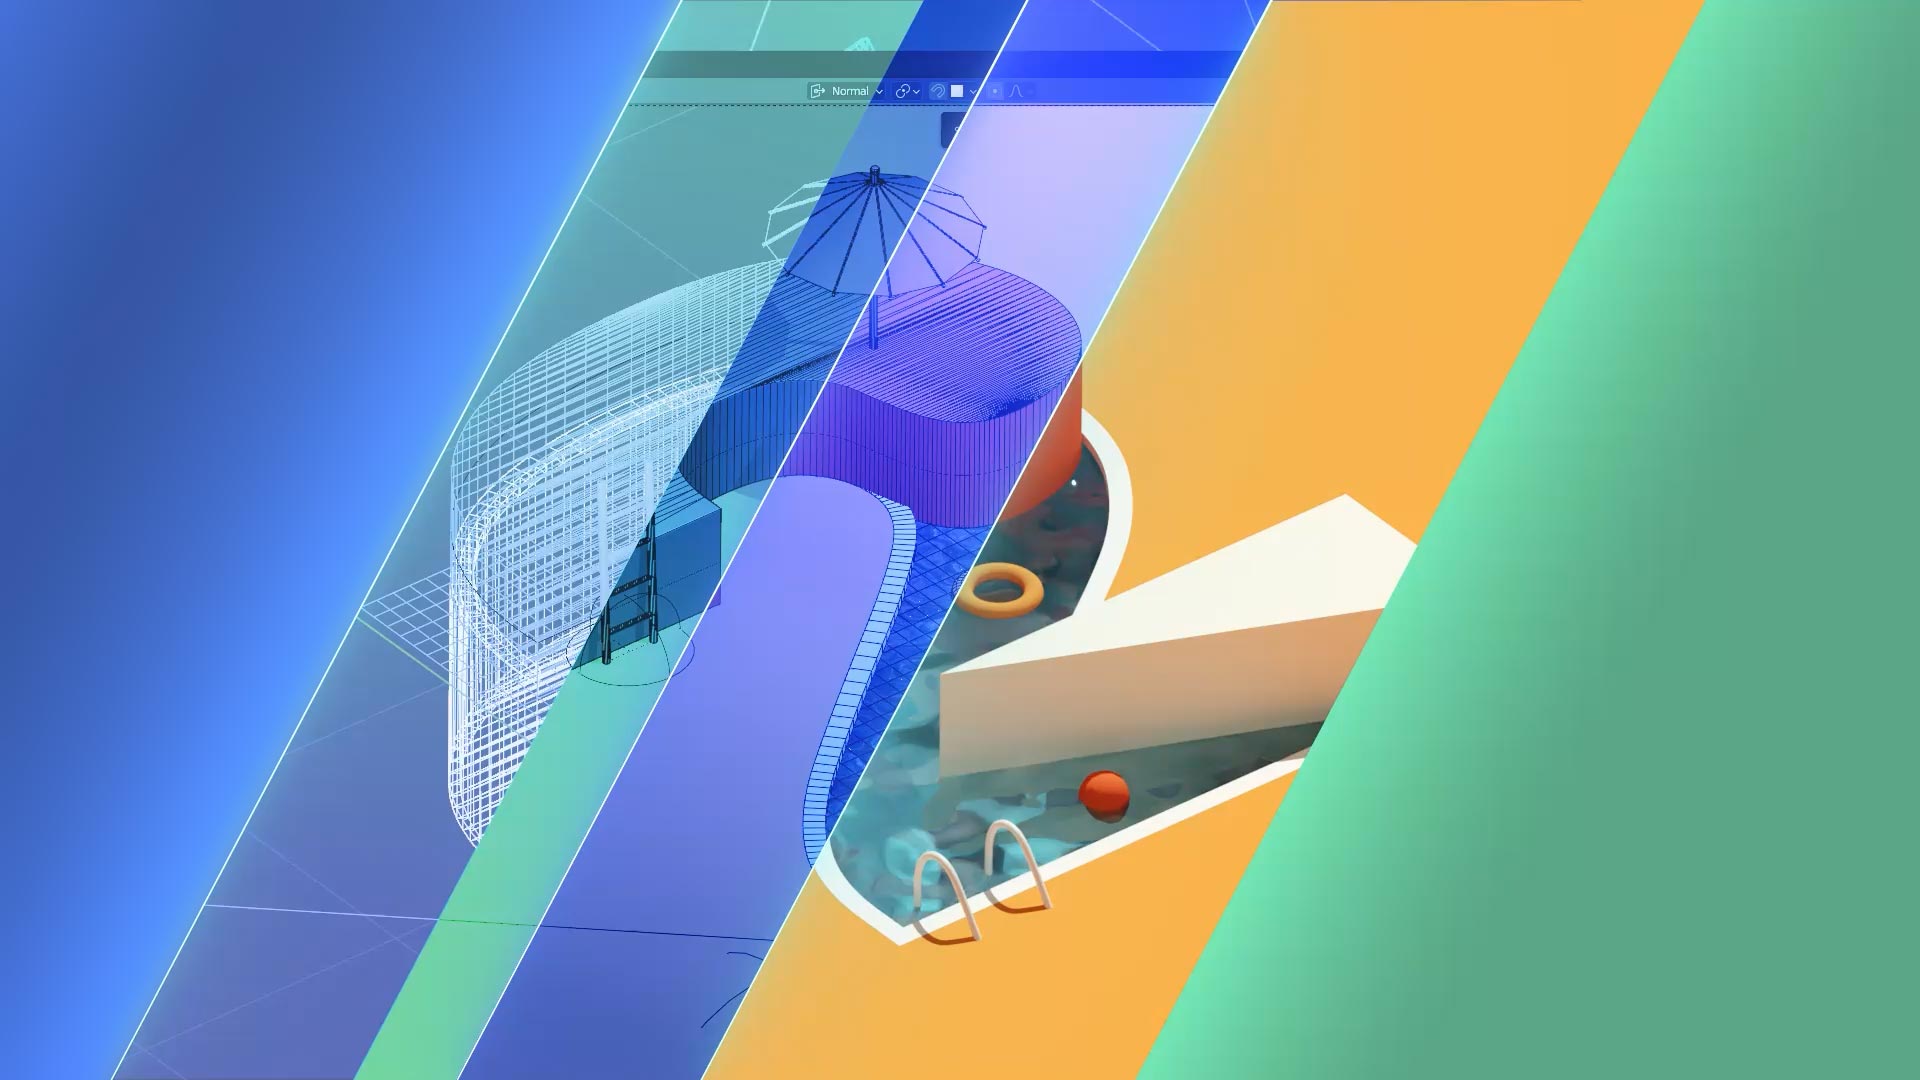
Future-proof yourself: learn 3D animation in Blender today! Join Matt on this course for foundational knowledge and great workflow tips he's picked up in his years as a professional 3d artist.

The world’s first Unreal Material library, designed for high-end professional motion graphics artists.
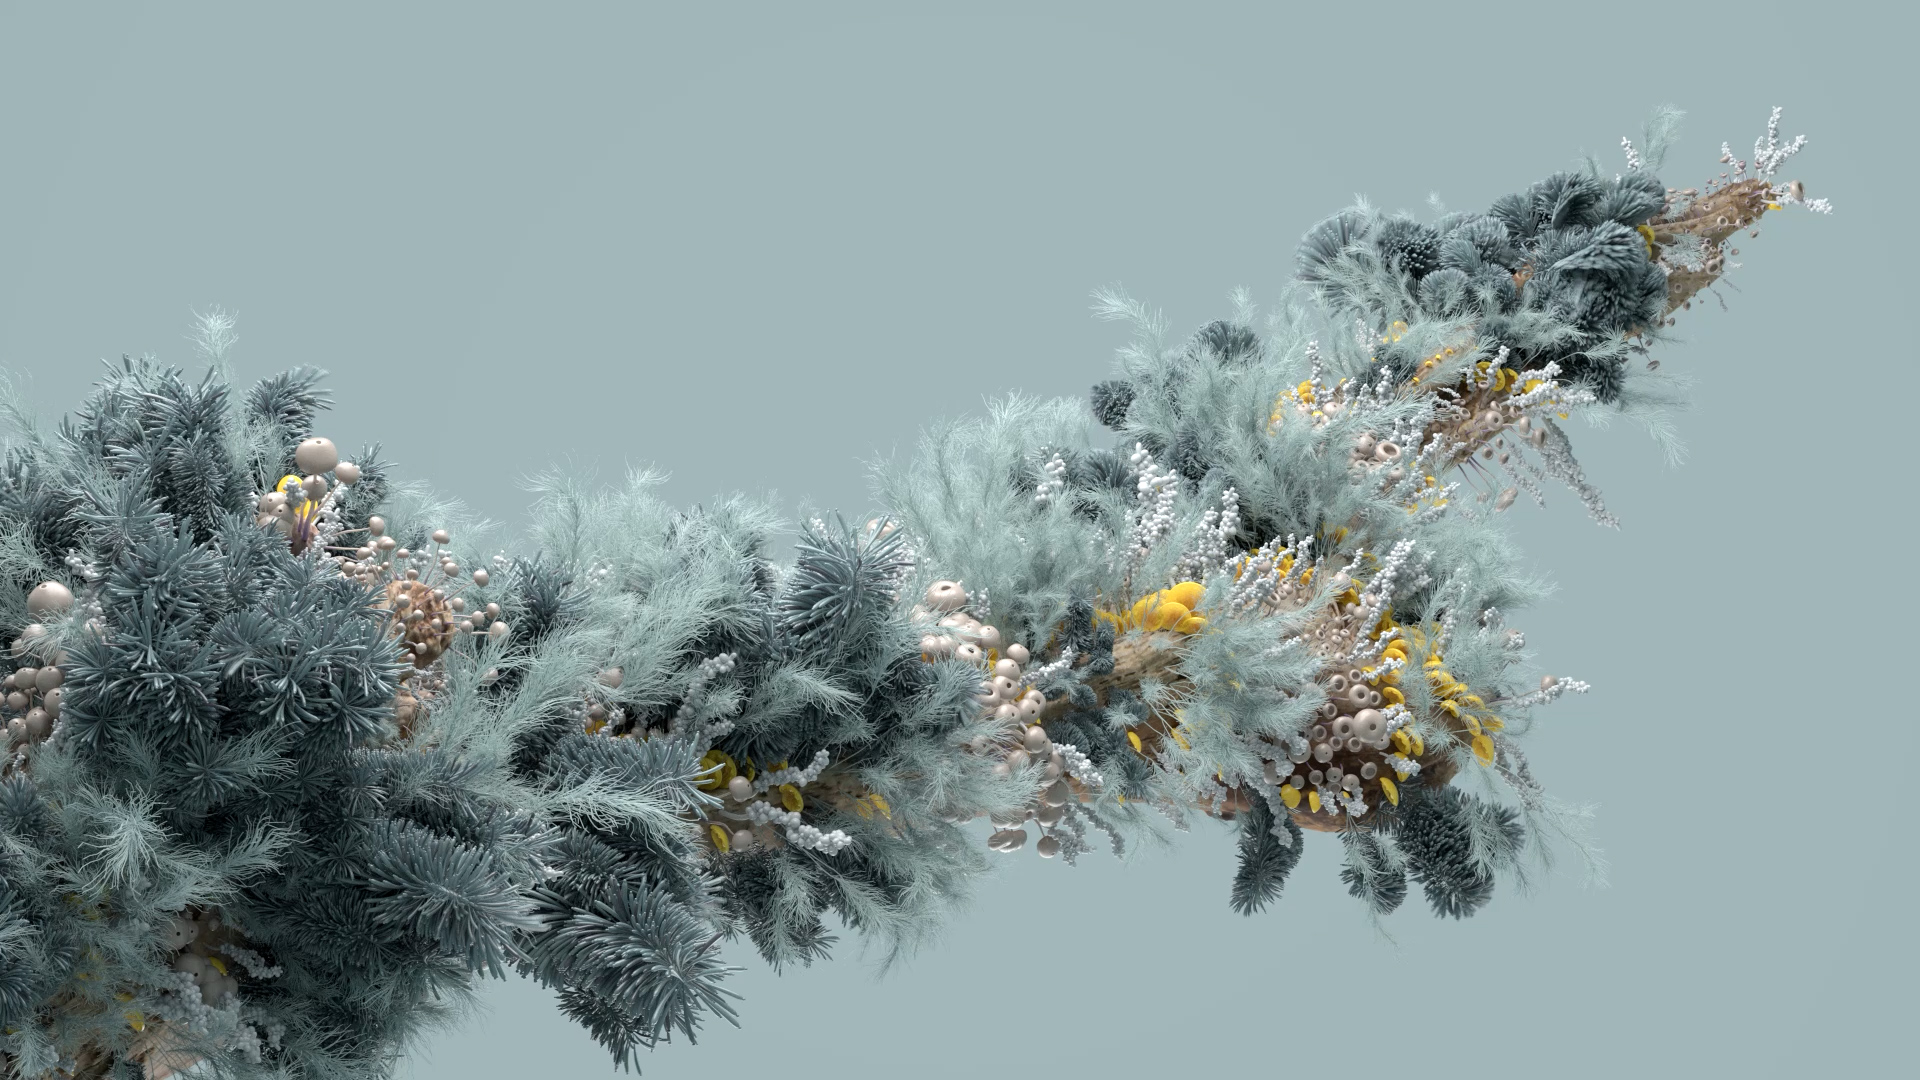
Create an intricate and detailed flowering setup using Houdini, in this project based training from Rich Nosworthy.

Super High Resolution HDRI collections. Save up to 20% when you buy in a bundle.